
Guide
How to clip gameplay on a Mac
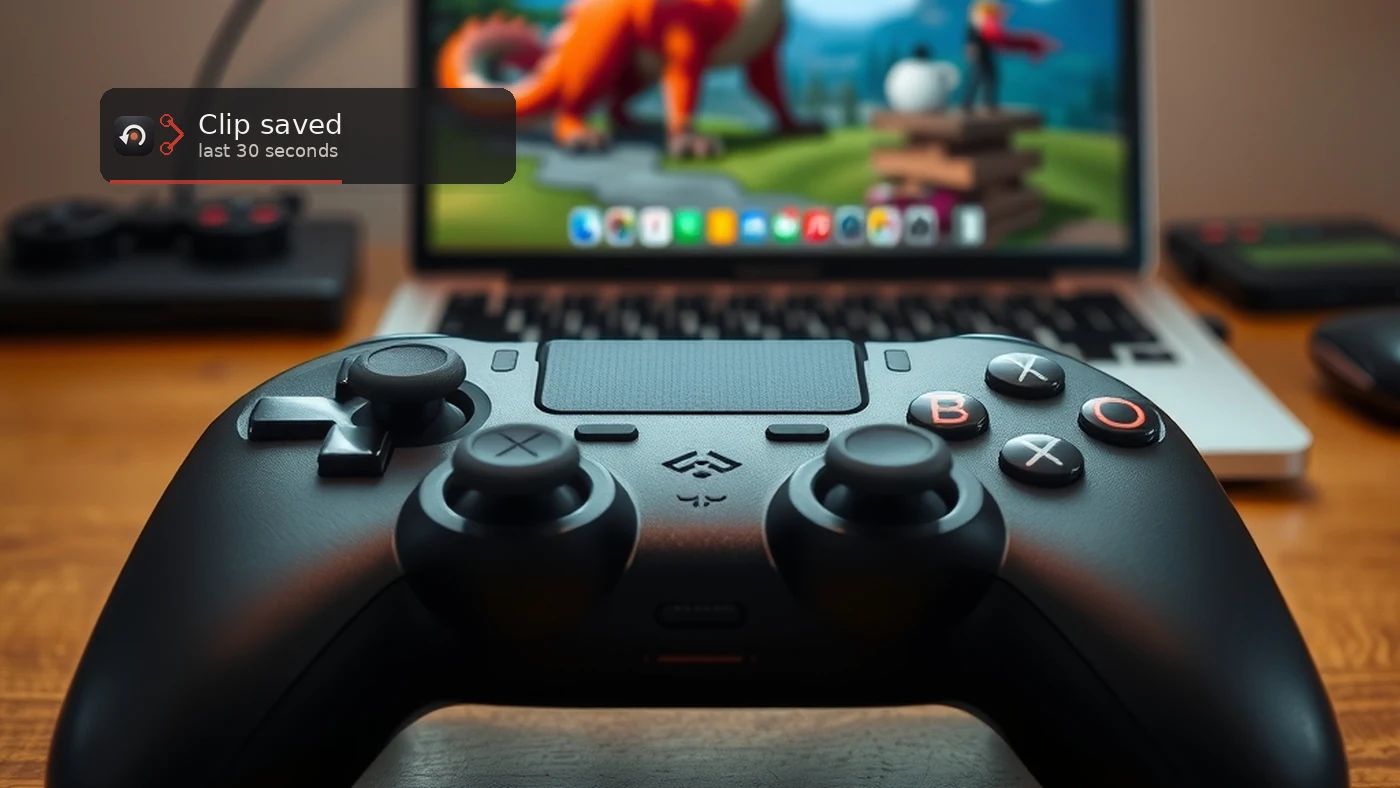
There are five ways to record gameplay on a Mac and they are not interchangeable. Two are built into macOS, two are free downloads, and one is the category this site is about. Which you want depends almost entirely on a single question: do you know in advance that you want to record?
The question that decides it: before or after?
Every screen recorder falls into one of two groups. Prospective tools record from the moment you press start, so you have to know beforehand that something worth keeping is about to happen. Retroactive tools — instant replay, replay buffers, "save the last N seconds" — are always holding the recent past in memory, so you press the button after the thing has already happened.
Almost all the frustration people have with Mac recording comes from using a prospective tool for a retroactive job. You cannot know that the next thirty seconds will contain the best round of your life. If that is the problem you have, skip to the last section, because the first four options do not solve it.
1. Screenshot toolbar (Shift-Command-5)
Apple's built-in Screenshot app has recorded the screen since macOS Mojave. Press Shift-Command-5, choose Record Entire Screen or Record Selected Portion, and press Record. The file lands on your desktop as a .mov when you stop.
Good for: a quick capture of something you are looking at right now, with no install and no configuration. Bad for: gaming. It records the whole screen or a rectangle of it, so notifications, your menu bar and anything on a second display are in the file. It does not capture audio from your applications without extra software. And it is entirely prospective.
2. QuickTime Player
In QuickTime Player, choose File, then New Screen Recording. On current macOS releases this opens the same Screenshot controls, with QuickTime available for playback and trimming afterwards.
Good for: recording a session you intend to edit down later. Bad for: the same reasons, plus QuickTime writes uncompressed or lightly compressed files that get very large very quickly. A long session can fill a drive.
3. OBS Studio
Free and open source, and by far the most capable thing on this list. OBS can capture a specific window, mix several sources, stream, and — importantly for this discussion — it has a Replay Buffer, which is a genuine retroactive recorder.
The catch is that none of that is on by default. OBS opens with a blank
scene; you add sources and confirm your audio devices before anything is
captured at all. The Replay Buffer then has to be enabled in Settings under
Output, given a length, and bound to hotkeys for Start Replay Buffer and Save
Replay Buffer. And it does not arm itself: you press Start Replay Buffer
every session, and if you forget, the moment you wanted was never in memory
to save. OBS documents a --startreplaybuffer
launch option for people who want to automate that step.
Good for: anyone who streams, needs multiple sources, or is already comfortable in OBS. It is free and it is genuinely excellent. Bad for: the case where you just want a clip and do not want to operate a broadcast console. Also worth knowing: isolating a single application's audio is not something OBS does natively on macOS, which is why so many Mac OBS guides end with "install an audio routing driver". The full comparison is here.
4. Steam's built-in Game Recording
Steam Game Recording includes a background mode that keeps a temporary recording while you play so you can make a permanent clip afterwards. If the game you play is launched through Steam, this is free and already installed.
Good for: Steam games, if you are happy inside Steam's overlay and its clip library. Bad for: everything that is not a Steam game. A large share of Mac gaming happens outside Steam entirely — App Store titles, launchers like Battle.net, emulators such as RPCS3, Dolphin and RetroArch, games running through CrossOver or the Game Porting Toolkit, and browser games. Steam structurally cannot record any of those, because it only knows about games it launched.
5. A dedicated instant-replay app
This is the category NVIDIA created with ShadowPlay on Windows and Medal built a company on. The app holds the last N seconds of your game in a memory buffer, continuously discarding anything older, and writes a file when you press a key. Nothing touches your disk until you do.
On Windows there are several. On macOS the category was empty for years: ShadowPlay is NVIDIA hardware and has never run on a Mac, Xbox Game Bar is Windows-only, and Medal's current platform guide says it does not support macOS. RetroClip did it well and stopped being updated in 2020. See the full Hindsight and Medal comparison.
Hindsight is our answer to that. It sits in the menu bar, holds 15 seconds to 5 minutes of a single game window, and writes an .mp4 in about a second when you press ⌥⇧C — including from inside a fullscreen game. Because it captures one window rather than your screen, notifications and your second display are never in the clip, and it can record that game's audio without your Discord call.
For a dated roundup of free and paid Mac clippers — Steam, OBS, ReplayMac, Vestige, ClipForge, Rewinder, ClipMac, and Hindsight: Instant Replay — see best Mac gameplay clipping apps in 2026.
So which one?
- You know in advance and just need a file: Shift-Command-5. It is already there.
- You stream, or need multiple sources: OBS Studio, and nothing else comes close.
- You only play Steam games and live in Steam: Steam's own Game Recording.
- You want to clip things that already happened, in any game: an instant-replay app.
Two things that catch people out on macOS
Permission. Every one of these tools needs Screen & System Audio Recording permission in System Settings, under Privacy & Security. macOS also re-confirms it periodically, so a prompt reappearing for an app you already approved is normal and clicking Allow keeps the existing grant.
Audio. macOS has historically had no way to record another application's sound, which is why older guides tell you to install a virtual audio driver like BlackHole or Loopback. That is no longer strictly true: ScreenCaptureKit can select individual apps and windows and deliver audio alongside the video, which is how per-app audio can work without a virtual device. Whether a given tool uses that path is another matter. More on that here.