
Guide
OBS Replay Buffer on a Mac: setup that works, and what it can't do
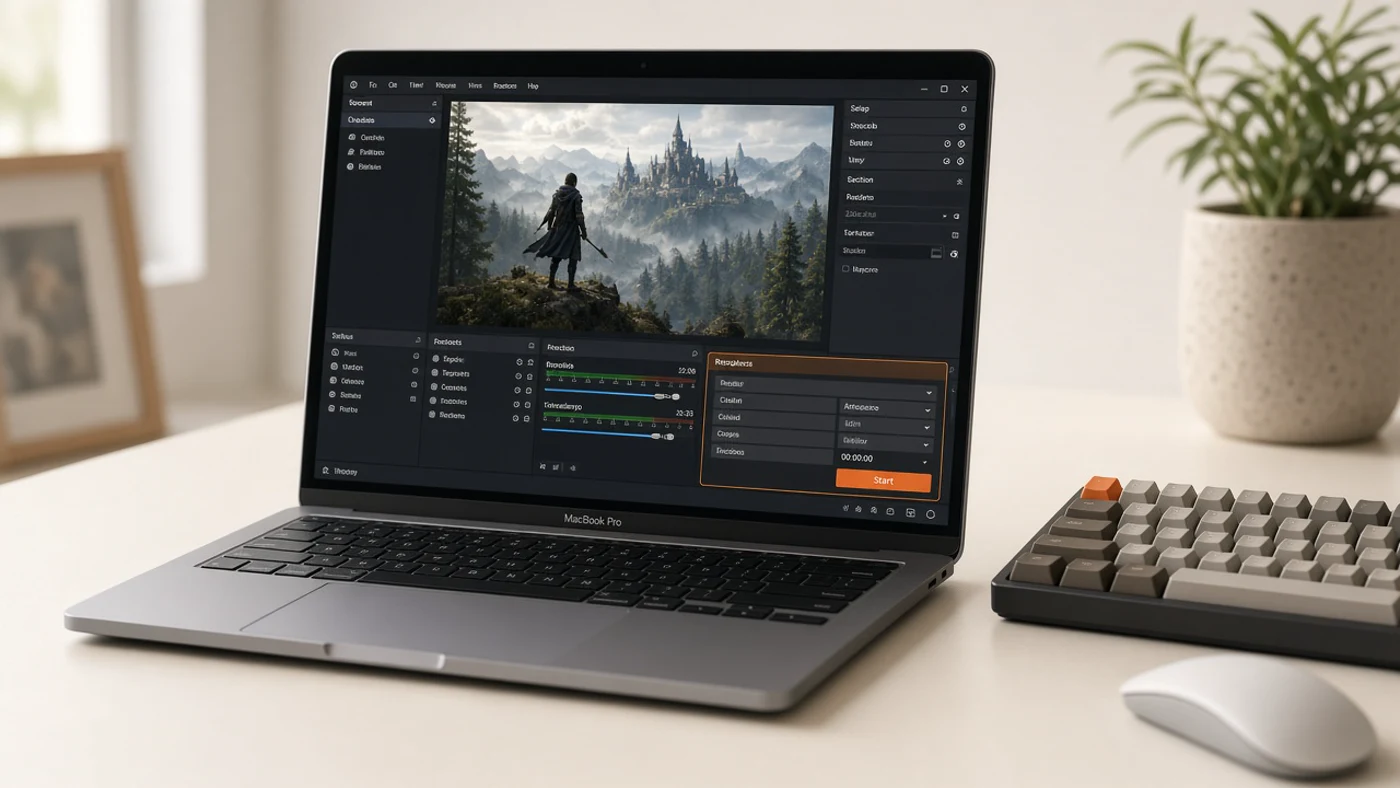
OBS Studio is free, actively maintained, and already sitting on a lot of Mac desktops because people stream with it. Its Replay Buffer is a real rolling buffer: while it is running, a Save Replay hotkey writes the last N seconds to a file. That is the same mechanic as NVIDIA ShadowPlay or a dedicated clipper. The catch on macOS is not that Replay Buffer is broken. The catch is that OBS’s defaults and Mac audio model make a frustrating first hour unless you change a few settings on purpose.
What you need before the buffer does anything
Install the current OBS Studio build from obsproject.com, not an old Homebrew cask if you can help it. Grant Screen & System Audio Recording when macOS asks — without that permission the preview stays black. OBS’s Quick Start Guide is clear that on macOS you add a macOS Screen Capture source (display or window). There is no Windows-style Game Capture on Mac.
Add one scene, one macOS Screen Capture source pointed at the game window you care about, and leave the rest of the scene empty until the buffer works. A complicated layout is not required for clipping.
Turn on Replay Buffer with Mac-friendly encoder settings
- Open Settings → Output and set Output Mode to Advanced.
- Open the Replay Buffer tab (or enable Replay Buffer under Output if your build still groups it there). Turn it on and set Maximum Replay Time — 30 to 60 seconds is a sensible clip length; multi-minute buffers chew RAM for little gain when you only want a highlight.
- Under Hotkeys, assign Save Replay to a key you can hit inside a fullscreen game. Optionally assign Start Replay Buffer if you do not want to click the Controls dock every session.
- On the Recording side of Advanced output, set the encoder to an Apple VT hardware encoder — Apple VT H264 Hardware Encoder is the safe default; HEVC is fine when you want smaller files and your players can decode it. OBS’s hardware-encoding guide documents VideoToolbox on Apple silicon and Intel Macs. On Intel Macs, VT is for recording; streaming still needs x264 because those Macs lack the constant-bitrate path most services expect.
- If you also stream, set Replay Buffer (and recording, when you want the same trade-off) to Use stream encoder when that option is available. A second concurrent encode is a common reason Mac users report high CPU while the buffer sits idle in the tray.
Then click Start Replay Buffer before you play. The buffer
does not arm itself. If you keep forgetting, OBS documents a
--startreplaybuffer
launch flag; on macOS the usual pattern is an Automator app or Terminal
line of the form open -a "OBS" --args --startreplaybuffer.
Why the Mac feels laggy until you leave x264
Forum threads titled “Replay Buffer high CPU” and “OBS makes my game lag” are usually encoding stories, not mysterious Replay Buffer bugs. OBS’s bundled software encoder is x264. It runs on the CPU cores your game also wants. Apple VideoToolbox moves compression onto the media engine, which is the specialised silicon Macs already use for screen recording and export. Switching the recording/replay path to Apple VT is the single highest-leverage change for Mac gaming clips inside OBS.
Keep canvas resolution honest. Capturing at 4K when you only share 1080p clips multiplies encode work for no audience benefit. Match the game’s output, or downscale once in Video settings, then test a Save Replay once before a real session.
What OBS still cannot do cleanly on macOS
Be honest about the limits, because they are why people abandon a working buffer after a week:
- Per-app audio is not native. macOS mixes application sound before it reaches the speakers. A recorder reading that mix cannot separate the game from Discord by itself. OBS users solve this with a virtual audio device such as BlackHole or Loopback and careful routing — workable, but it is a second product to install and keep healthy. Window capture with ScreenCaptureKit can isolate one app’s audio without that stack; that path is covered in how to record game audio without Discord.
- It is a broadcast console, not a menu-bar clipper. Scenes, sources, profiles, and the Controls dock are the product. That is correct if you stream. It is overhead if you only want one shortcut that stays armed.
- You must start the buffer every session unless you automate launch flags. A buffer that was never started cannot save the play you just made.
- Window vs display still matters. A display capture includes the menu bar and notifications. Prefer a window-targeted macOS Screen Capture source for clean gameplay clips — same decision as window vs display capture.
When OBS Replay Buffer is the right answer
Keep OBS when you already live in it: you stream, you need multiple sources, you want free software, or you are fine arming a buffer from the Controls dock. For Steam-only titles, also consider Steam Game Recording before building an OBS scene — Valve’s background recording is free and closer to “already armed” for games launched through Steam. The broader menu of Mac options is in how to clip gameplay on a Mac and how to record the last 30 seconds.
If the job is only “save what just happened in this game window,” a dedicated rolling-buffer app is the smaller interface. Hindsight holds a fixed-length encoded buffer of one window, can take that game’s audio without Discord, and saves an MP4 after the moment. Our Hindsight vs OBS page spells out the trade without pretending OBS is a bad tool — it is the wrong weight class for some jobs and the right one for others.
A 60-second smoke test
- Start Replay Buffer. Confirm the Controls dock shows it running.
- Move something distinctive in the game for ten seconds.
- Hit Save Replay. Open the file OBS wrote and confirm picture, length, and audio.
- If the clip is silent, fix audio devices before chasing encoder settings.
- If the game stuttered while the buffer ran, re-check that the encoder is Apple VT and that you are not running a second encode for recording at the same time.
Once that smoke test passes, OBS Replay Buffer on a Mac is a reliable free clipper. Most of the horror stories are defaults and audio routing, not a missing feature.